Of all the home improvements I’ve done, hanging curtain rods is by far the most painful: It’s a whole lot of measuring, a whole lot of making sure things are level, and (at least for me) a whole lot of getting at least one of those things wrong and having to re-drill. Curtains are hard. And yet, curtains are great*! Blackout curtains help the kids sleep better during the day, and they’re super helpful in the summer when the sun sets late in day but bedtime remains the same. The benefits gained by having curtains set up far outweighs the pain it take to set them up, and so it had to be done.
In each of the kids’ rooms are two windows – four total. They’re ~75in. x 36 1/2in. (including trim). A blackout curtain needed to hang over the window such that almost no light made its way through, but a bit of light coming from the sides was fine. The curtains had to be hung such that they didn’t drag on the floor, and were level with the ground (more on this in a bit.) Aesticetically, the curtain rod and dressings had to look good, but only to us parents – nothing flashy needed here.
In previous curtain installations, I’ve sort of winged it when it came to placing the curtain rod. It’s always been level and centered, but because it’s just been a single curtain rod or set perpendicular with the room’s windows, I didn’t worry so much about spacing, height, or making sure all curtain rods hung throughout the house followed a patter. This worked out OK, but such an approach has only contributed to my apprehension about hanging curtains: It doesn’t feel great to wing it when putting so many holes in the wall.
To tighten up the specs here, I searched online and discovered that curtains tend to overhang their windows by about 3 or 4”, and the rod is placed as high as the curtains need to be, given their height. Our curtains (from Costco, naturally), were a standard 84”, and so the rod would be that height.
Let’s shift gears for a second to something more work-oriented: As our company grows (we’re hiring, btw!), processes need a bit of standardization, and templates are a great tool for ensuring that basic information is captured in a way that’s easy to enter, easy to report on, and inherently scalable. Templates are not set in stone, but provide a solid common ground to start from. Additionally, a good template takes time to put together, but that time is saved the more it’s used in the future.
Back to curtains, which, remember, I really don’t like hanging. Given that there were four windows, and they were all the same size (and indeed, are the same size across the house), creating a template for where screws should go seemed to make sense. If it didn’t save me time when hanging stuff up, it would at least kept things uniform. Additionally, because creating a template was something I could do at the kitchen table, I got to spend less time on a ladder juggling multiple tools and more time with my family doing puzzles and coloring. Win/win.
To create the template, I first measured all the things. The 3” on either side was easy enough to remember, but the rod had to hang at a height different than that of the screws used to hold it in place. Additionally, I had to consider what material I’d be using for the template and compensate for any height difference. I started sketching this out:

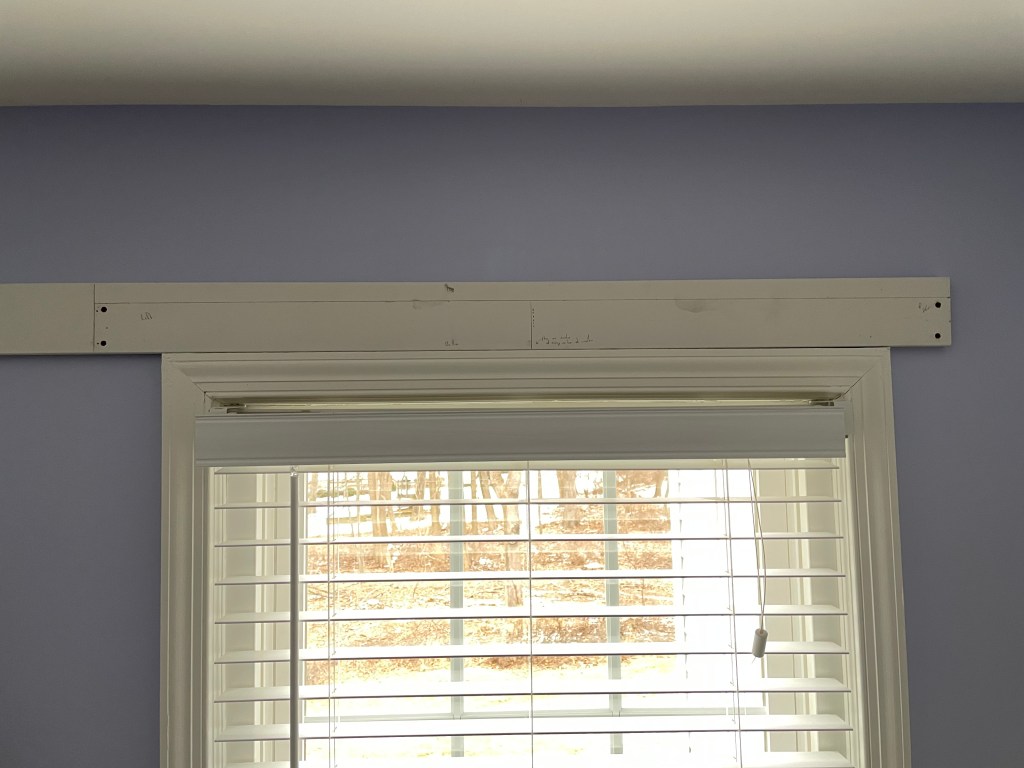
I elected to use a scrap piece of 1×4 because it was light and easy enough to hold with one hand. Because the 1×4 was taller and longer than it needed to be, and I didn’t want to rip it down to size, I noted which was the top/bottom/left/right. Simple enough, but I’ve messed this sort of thing up in the past and it’s infuriating when it happens. In addition to these Very Obvious Markers, I found the center of the span and made another Very Obvious Note to place the center in the center of the trim of the window. What’s a template without some instructions, right?

Finally, I marked where the brackets would go, pre-drilled some holes, and gave it a test run. Here’s the template in use:
With the spacing in place, it was time to double-check how level everything was. It’s a good thing I did, because the window wasn’t as level as I expected:
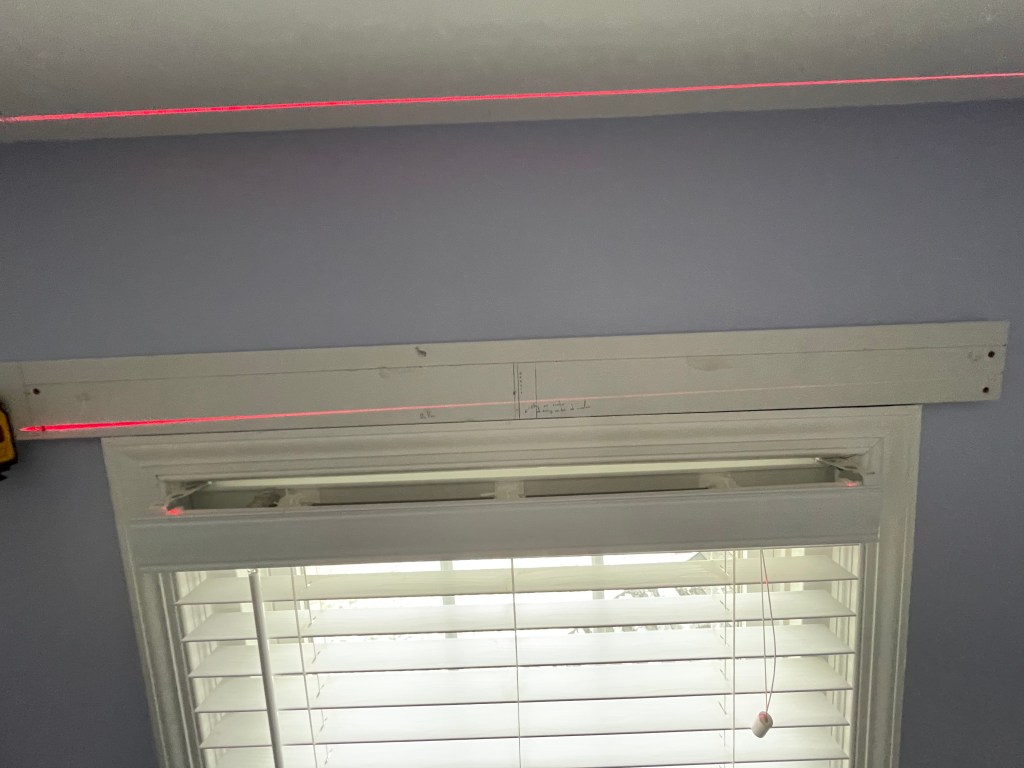
To mitigate, I simply levered the template up to ensure the left holes were level with the right, made my marks and went on my way. Without the curtain, the bar would look uneven with the window. With the curtain however, everything looked nice. This was preferable to the opposite effect, had I kept the template true to the casing. (I suspect the culprit of this unleveling is the house settling, though there aren’t any visible signs of stress. Perhaps in the future there will be? Yayy…)
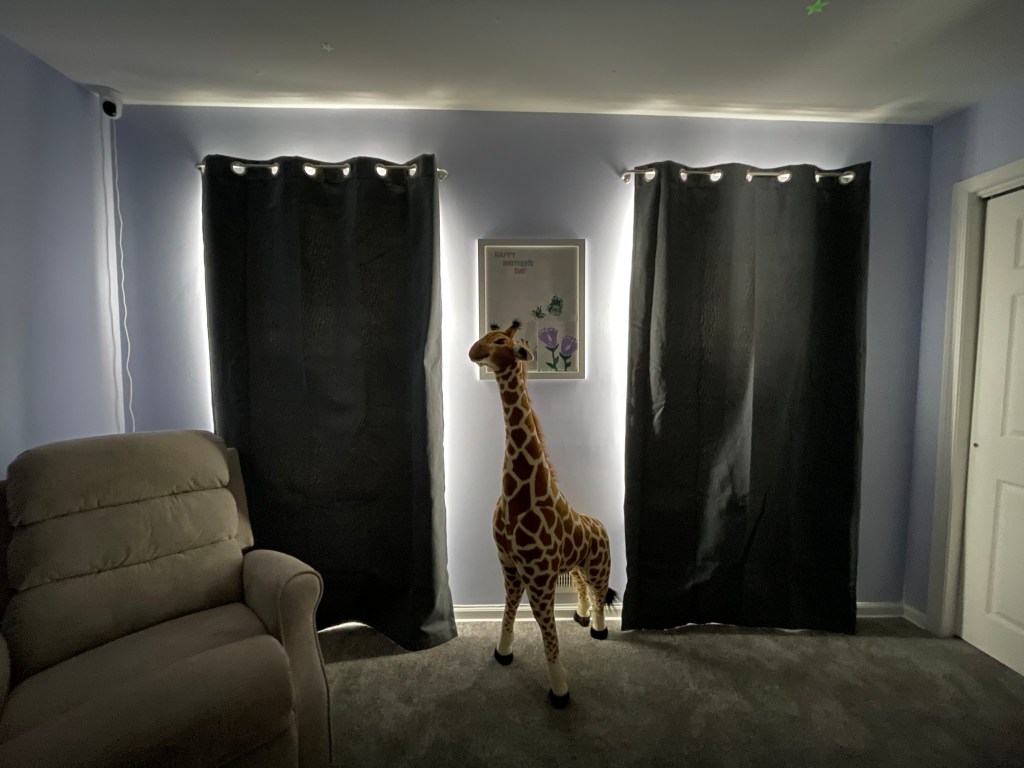
With the rod in place, curtains were hung with ease, and they look pretty good. Most importantly, they look nearly identical, as the template would suggest.
Templates are powerful things – helpful, but customizable when necessary. Spending the time upfront to think through a useful, flexible template was a good investment: It took me two hours to hang four curtain rods, and they all look great. I don’t think I’d change much of the template, except to maybe triple-check how align the screw holes were with each other, but for now it has graduated from scrap wood to useful tool.
*Curtains are mostly great, but in general I’m not a fan. They’re good in the kids’ rooms but otherwise I find them drab and a bit imposing. Still, a well-placed window dressing can really make a room and I hesitate to say all curtains are bad. #TeamBlinds though unless you can convince me otherwise.
